Saturday, March 29, 2014

ASIAN BROCCOLI SLAW


Ingredients:

1 large bag of broccoli slaw or 2 small ones if that's all you can find (it's usually near the lettuce and coleslaw mix in the produce department)
1 TBSP coconut oil
4 cloves garlic, chopped
1/2 TBSP Black Pepper
1 tsp ground ginger
1 TBSP coconut aminos
1/2 tsp sesame oil 
1 TBSP rice vinegar
1 TBSP sesame seeds

Process:
Preheat your skillet over medium heat. 
Add in the coconut oil, once melted, add in the chopped garlic and cook until it starts to sizzle. 
Add in the bag of broccoli slaw and mix to coat with coconut oil and distribute garlic. 
Continue cooking over medium heat for another 4 - 5 mins until the broccoli starts to soften, 
Add in the pepper, ginger, coconut aminos, sesame oil, rice vinegar and sesame seeds and mix well. 
Keep cooking for 10 mins or so until all of the liquid has been absorbed. I made sure to stir it frequently to keep blending the flavors. 

This is one of those recipes that came to be because I had a bag of broccoli slaw in the fridge and decided to experiment with it. This will pair really well with chicken or shrimp and would even go well in a big salad to add a little extra flavor. It's also a great change up from the usual roasted broccoli :)

3oz of broccoli slaw  = 1 Carb Block


Friday, March 28, 2014

ROASTED BEETS


 Ingredients:

3 or 4 large beets, washed w/ greens removed (I like to buy the loose beets, much easier!)


Process:
Preheat your oven to 400 degrees.
Wrap the beets in aluminum foil so they are sealed and place on a baking sheet
Put them in the oven for about 40-45 mins. I would start testing them at about 30 mins since this will vary based on the size of the beets. 
You will be able to tell they are done when they are softer to the touch, similar to a baked potato.
Once they are cooked, take them out of the oven and let them sit for about 10 mins. 
After 10 mins, unwrap the foil to let them cool.


Once they are cool to the touch, you will be able to easily peel them with your hands. 
After they are peeled, I chop mine up so they are easy to put on salads but you could also slice them if you want to eat them as a side dish.


Personally, I love the flavor of beets which is why I eat them and they are a great go-to when I am bored of the usual veggies. They also have tons of health benefits like lowering blood pressure, boosting stamina, fighting inflammation, supporting the body's natural detoxification process and containing high levels of valuable nutrients and fiber. Getcha BEETS!

3.5oz of beets = 1 Carb Block


Tuesday, March 25, 2014

EASY STEAK TIPS


Ingredients:

Marinade:
4 cloves garlic, minced
1 TBSP Olive Oil
Juice of 1 lime
1/2 TBSP Worcestershire sauce  (I find mine at whole foods, pretty minimal ingredient list but I will also sometimes make my own from this link here.)
1/2 TBSP black pepper
1/2 TBSP Old Bay seasoning
1 tsp onion powder
salt to taste

1.5 lbs Sirloin steak tips

Process:
Mix all of the marinade ingredients in a gallon size ziploc bag, seal and shake to combine.
Add the steak tips to the bag, seal and shake it up until all of the steak tips have been covered.
Remove any excess air from the bag and place in fridge for at least an hour before cooking, but you can also let them sit over night or throughout the day.

When you are ready to cook the steak tips, preheat your cast iron skillet over medium-high heat. 
Dump all of the contents of the bag into the skillet and arrange meat in a single layer in the bottom of the skillet. 
Cook over medium-high heat and turn the pieces as necessary until the meat has reached the internal temperature that you prefer. I finished mine at a medium-rare to medium temp and it took at little less than 10 minutes.   


I have recently created a new goal of eating beef two times/week. I never used to eat red meat just because I would always grab the chicken, turkey or fish that was in the fridge instead, nothing against red meat - just not my preference. I think that was mostly due to the fact that I never really experimented with beef recipes but now this new goal is forcing me to do that and so far so good! I tossed the steak tips over a salad last night for dinner, added some veggies, potatoes and avocado.. YUM!

1oz of beef = 1 Protein Block


Sunday, March 23, 2014

BLACKENED GARLIC SHRIMP


Ingredients:

1 TBSP Kerrygold garlic & herb butter
3 cloves garlic, minced
1 lb. large, raw shrimp, washed and peeled
1 tsp black pepper
1 TBSP blackening seasoning *See my note below on how I make my own
Juice of 1/2 lime


Process:
Preheat your skillet over medium heat and add butter. 
Once the butter has started to melt, add in the garlic and cook for about a minute until it starts to sizzle. 
Add in the washed and peeled shrimp. Try to make sure they are arranged in one layer on the pan so that they will cook evenly
Add the black pepper and blackening seasoning over the shrimp and mix to coat.
Squeeze lime juice over the top.
Continue cooking for about 5 minutes until shrimp are pink. 
DONE!

Super simple and very easy to make. I make these in my cast iron skillet and they turn out delicious every time -- according to Max.. I never actually get to try them because he will ALWAYS eat them first!

1.5oz of shrimp = 1 Protein Block


*Blackening Seasoning Mix:
This is a great seasoning that I will toss into a lot of my meat and fish recipes so I just make a big batch and keep it handy. 

2 tsp cumin
2 TBSP paprika
2 TBSP black pepper
2 TBSP onion powder
2 TBSP garlic powder
2 1/2 TBSP dried thyme
2 tsp cayenne
1 TBSP dried oregano
1 tsp ground nutmeg
salt to taste

Mix these all up and store in a spice jar for frequent use!

Saturday, March 22, 2014

SIMPLE 1 BLOCK MUFFINS - SWEET POTATO & CHOCOLATE VARIATION


(Recipe makes twelve 1 block muffins)


Ingredients:

4 eggs
Approx. 5 scoops protein powder (56g protein) -- I used chocolate flavor here
15 oz baked sweet potato* see note below on how to prepare these
3/4 c apple sauce
2 Tbsp Coconut Butter, slightly melted** (link below)
Cinnamon
1 tsp vanilla extract
1/2 tsp baking soda


*Cooking sweet potato:  Wrap sweet potato in foil and cook in oven at 400 degrees for about 30-35 mins until it's cooked through. I would recommend making two medium size sweet potatoes to make sure you have enough for the recipe. Once the sweet potatoes are done, remove them from the oven and let them cool enough so that you can remove the skin which is very easy to do with your hands. Once the skin is removed, weigh out the necessary 15oz for the recipe and start making your muffins!

Process:
Preheat oven to 365 degrees.
Mix  sweet potatoes and applesauce until well mashed. 
Add in eggs, cinnamon, coconut butter and vanilla and mix/blend until combined again. 
Add in protein powder and baking soda and mix until well combined. 
Pour into 12 muffins greased muffin tins and bake for about 15 mins until done.

** This is the coconut butter that I buy, so easy and shipped right to my door: Nutiva Organic Coconut Manna

Once again feel free to substitute coconut oil or a nut butter for the coconut manna -- just make sure to keep 18g of fat in order to keep the recipe balanced. 

This recipe came to exist because I didn't have enough leftover bananas from this week to make both my muffins (early AM snack) AND the pancakes (afternoon snack) so after a slight feeling of panic I decided to great creative and use a different carb source. I also think these will be better for my AM snack since the sweet potato will break down into the system and therefore better fuel me for my AM training session -- this thought also came from a quick chat with my awesome fiance :)

Sunday, March 16, 2014

SPICY CHICKEN AND BISON BURGERS

(my recipe made 10 patties that were about 3 oz each, feel free to adjust as you see fit)


Ingredients:

16 oz ground chicken
16 oz ground bison
1 TBSP lime juice
3 cloves garlic, chopped
1/2 TBSP ground black pepper
1/2 TBSP red pepper flakes
1 TBSP Old Bay seasoning
1 tsp ground mustard powder
2 TBSP dried parsley
2 TBSP Frank's Red Hot Sauce
salt, to taste

Process:
Preheat your grill, I did mine on the George Foreman which is a recent purchase and am loving so far!
Mix all of the ingredients in a big bowl, I recommend using your hands :) It's the best way to blend the different types of meat and evenly distribute the seasonings.
Take small handfuls of the mixture and form into patties. I like to make mine smaller so they cook evenly on the George Foreman, but if you want to take BIG handfuls and make monster patties, be my guest!
**I make all of my patties at once and lay them on a piece of parchment paper so that I don't have to keep getting my hands dirty and washing them, kitchen efficiency at its finest!**
Oil your grill and put the patties on the grill until they are done!

**I came up with this recipe last night because I have been craving a burger for the last week so I decided to make my own, Win! These were extremely flavorful with plenty of heat which I love. Feel free to adjust the recipe with whatever you have in your spice cabinet or whatever you feel like putting in your burgers .. the sky is the limit when it comes to seasoning a burger so get creative and get grilling! You can also change up the meat mix and use any combo of chicken, turkey, pork, beef, bison or lamb. 

1.5oz of a burger = 1 Protein Block

Tuesday, March 11, 2014

SIMPLE 1 BLOCK MUFFIN -- PUMPKIN & VANILLA VARIATION


(Recipe makes twelve 1 block muffins)


Ingredients:

4 eggs
3 servings protein powder (approx. 56g protein) -- I used vanilla flavor this time
3 bananas
1 1/2 c pure pumpkin puree
1 Tbsp + 1 tsp Coconut Butter, slightly melted** (link below)
Cinnamon or pumpkin pie spice or BOTH!
1 tsp vanilla extract
1/2 tsp baking soda

Process:


Preheat oven to 365 degrees.Mix or blend bananas and pumkpin until well mashed. 
Add in eggs, cinnamon, coconut butter and vanilla and mix/blend until combined again. 
Add in protein powder and baking soda and mix until well combined. 
Pour into 12 muffins greased muffin tins and bake for about 15 mins until done.

** This is the coconut butter that I buy, so easy and shipped right to my door: Nutiva Organic Coconut Manna

Once again feel free to substitute coconut oil or a nut butter for the coconut manna -- just make sure to keep 18g of fat in order to keep the recipe balanced. 

This was a variation I came up with because I wanted to use vanilla protein powder vs the chocolate that I usually use for the banana/applesauce combo; also, I was out of applesauce so was forced to get creative and it turned out to be a great thing! I reduced the number of eggs on this batch and added more protein powder and I liked the consistency better, they turned out more cake like. Same deal with these  -- make 12 muffins and 1 muffin = 1 block!

Sunday, March 9, 2014

RICE!!! GOOD? BAD? WHITE? BROWN?

Let's keep it real -- pros & cons from a performance fueling perspective

White vs Brown?


More than half of the world depends on rice as a carbohydrate supply but there are so many mixed perceptions in the fitness, paleo, zone, crossfit world so a lot of people will stay away from rice because they don't have any answers. I don't have 'answers' but I do have a viewpoint.. and here it is.. simple and sweet. 

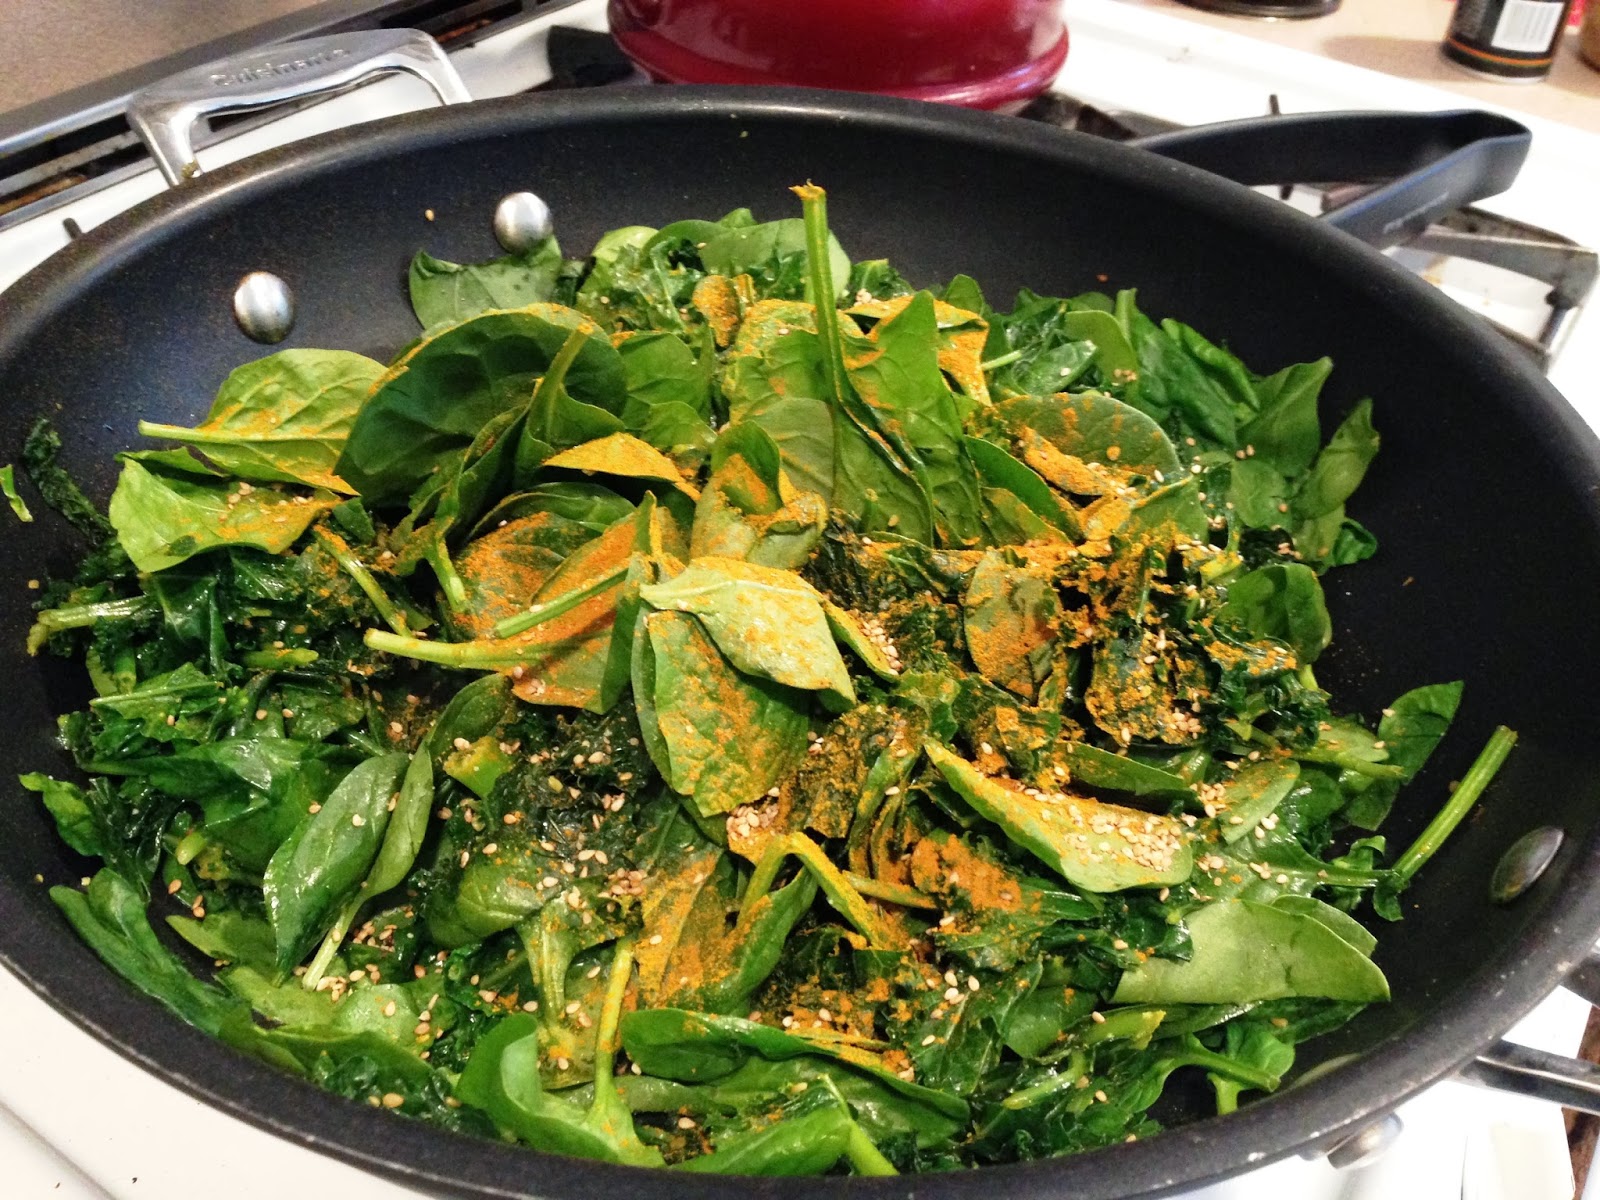
Athletes need carbohydrates to generate energy, feed their muscles, promote recovery and ultimately - fuel their workouts. Therefore, rice is a good option for meeting these needs. It is a whole food with the following benefits:
  • plenty of essential nutrients and minerals 
  • non-allergenic, gluten-free
  • easily digested
From a zone perspective, rice is calorically dense (3TBSP = 1 Carb Block) so it helps to make those 3, 4 or 5 block meals seem 'smaller' so you don't feel like you have to eat a MILLION vegetables. Also, it's easy to make a TON at once, so you can make one batch and you are set for the week. 

*Keep in mind, this is just my perspective. I do not claim to be a Dr. or nutritionist but can only speak from my experience. As an athlete who trains ~15-20 hours a week, I found that I could not get enough carbs from vegetables alone. I need the dense carbs to help give my body the calories and energy it needs to keep up with the demands that I put on it.*

I will have my rice in my lunch that way my body has time to digest it before my evening training and session but my body has plenty of time to fully digest it before I go to sleep for the night. This is the time that I have found works best for me, every body responds differently.

White vs Brown

So you have decided to try rice.. now which one? white? brown? There are a lot of conflicting views out there about which is better. They are essentially the same thing with minimal nutritional differences so choose whichever tastes best to you! I eat white based on the 'nitty gritty details' note below and the fact that I think it tastes better.

Nitty gritty details: Brown rice is a less processed version of white rice. Brown rice possesses an outer hull that has been removed from white rice. It takes slightly longer for the body to break down and process the brown rice, resulting in decreased insulin response.  White rice is absorbed into the bloodstream faster which may actually be beneficial to athletes to who are looking to feed their hungry muscles. However, the difference between the digestion/absorption rates are fairly insignificant, hence all of the conflict on the issue. 

Click here for a link to my simple but yummy COCONUT WHITE RICE RECIPE

SIMPLE COCONUT WHITE RICE

(Recipe will usually make about 2-2.5 cups cooked)


MMMM.... rice....


Ingredients:

1 cup white rice, rinsed
1 Tbsp coconut oil
1/2 cup coconut milk (here is the link to the one I buy but you can also find it at most grocery stores, I just like this one since it's just made out of coconut milk -- nothing else!)
1 1/2 cup water
sea salt


Process:
Add the water and coconut milk to a medium pot over medium heat until it reaches a slight boil
In the meantime, rinse your rice in a strainer
Once the water/coconut milk combo is boiling add in the coconut oil (this will help prevent the rice from sticking and adds to the coconut flavor... win!) and a pinch of sea salt
Stir a couple times until it's all combined
Add in your rice, cover and reduce to a simmer
Let it simmer for about 15 minutes until all of the liquid is absorbed
I will usually stir it once or twice during the process to help keep the rice fluffy
Once the water is absorbed, turn off the heat, remove the lid, gently stir with a spoon and let stand for about 10 mins


**This is such a simple recipe that pairs well with almost every other protein and vegetable that I make for the week. I make one big batch at the beginning of the week and we're set.
I will mix it with my greens during my lunch as a side for my usual salad and Max loves to pair it with his beef, chicken, sausage, or fish for his dinner. You can easily scale and adjust the ingredients to make the appropriate amount for your needs. 

3 TBSP white rice = 1 block of carbs

Wednesday, March 5, 2014

2 BLOCK SNACK IDEAS

HELP! I need a 2 block snack! What should I have?


Now that you have an idea of what/how much is in a 'block' based on the post last week, let's think about how to apply it to make those common 2 block snacks that are a life or sanity saver!

I have put together some ideas below on how to take those sheets and put together a balanced 2 block snack based on your desire for sweet or savory. Enjoy!


Monday, March 3, 2014

SAUTÉED GREENS WITH GARLIC, SESAME SEEDS AND TURMERIC


I used kale and spinach for this batch.


Ingredients:

2 large bags of pre-washed greens (kale, spinach, collard green, etc.-- get creative)
1 Tbsp Coconut Oil
2 cloves garlic, chopped
1/2 Tbsp ground turmeric
1/2 Tbsp black pepper
1 Tbsp sesame seeds

Process:

Warm coconut oil in a large skillet over medium heat
Add in chopped garlic and cook for about a minute
Add in first batch of greens to fill the pan and toss gently with tongs to distribute coconut oil and garlic.
Continue mixing the greens as they cook down and add in more greens as you have room in the pan.
Prior to adding the final batch of greens, add the turmeric, sesame seeds and pepper and mix into the greens. 
Add the last bit of greens and continue cooking until full batch is cooked through

*Note: Make sure you add the tougher greens (kale, collard greens) to the pan before the softer greens (spinach) since the tougher greens take longer to cook.


This has been one of my favorite recipes lately. I'm a huge fan of the kale's natural flavor, the sesame seeds give it just a little bit of crunch and turmeric is a natural anti-inflammatory. I will add this as a 1 carb block with the 2 blocks of rice for my lunch -- it adds great flavor and by pairing it with a more dense carb like rice, I don't feel like I have to eat an entire garden to get my carb blocks for the meal.

1 1/3 cup greens = 1 block of carbs